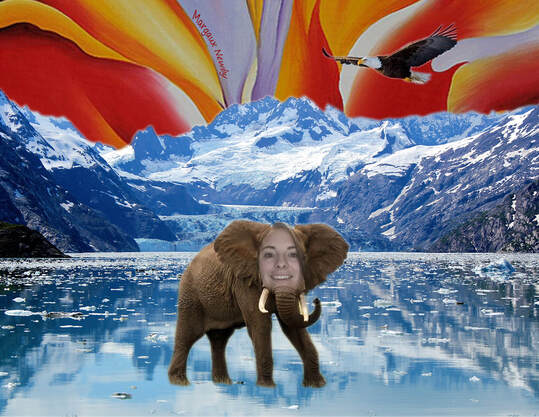
Teacher Creature Project: Libby
|
Final Project Above
Original Images Above
|
Project Reflection
|
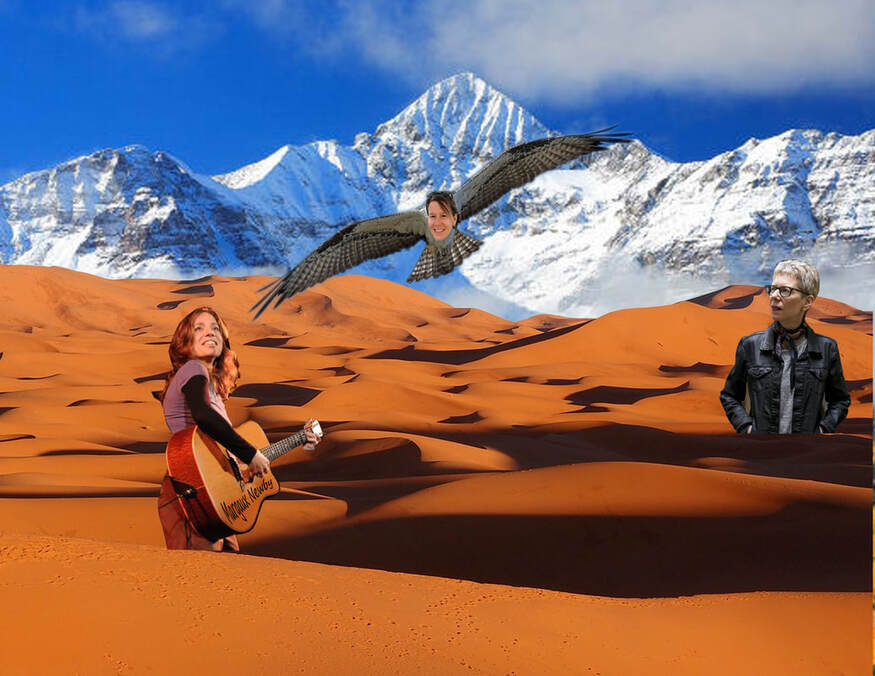
Teacher Creature Project: Young Nist
Final Project Above
|
Original Images Above
|
Photoshop Tutorials
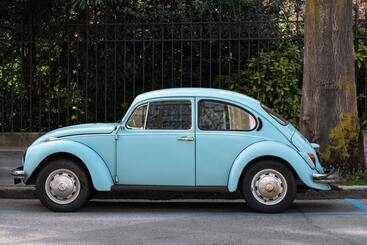
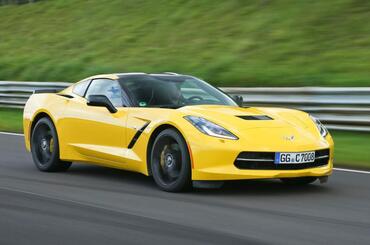
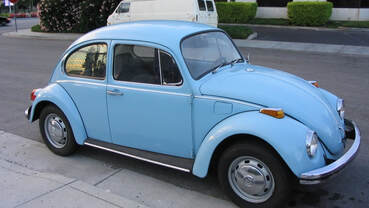
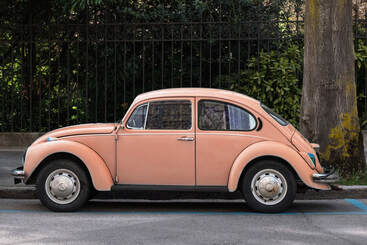
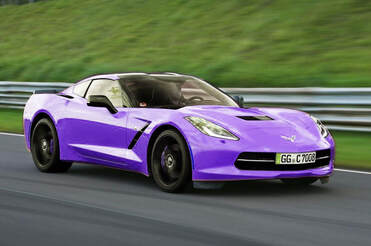
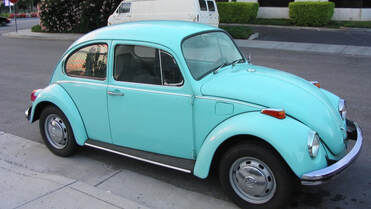
Changing Car Color
To change the color of these cars, first I selected the car with the pen tool. Then, after I selected make selection and feather radius, I could change the hue of the car.
|
Original Image

|
Photoshopped Image

|
I chose to change car color in Photoshop because it is a simple and effective way of changing the look of a picture. This was an easy experience because it only required a few steps. I could use these skills in the future to change the look of my own pictures of use the skills in future digital art projects.
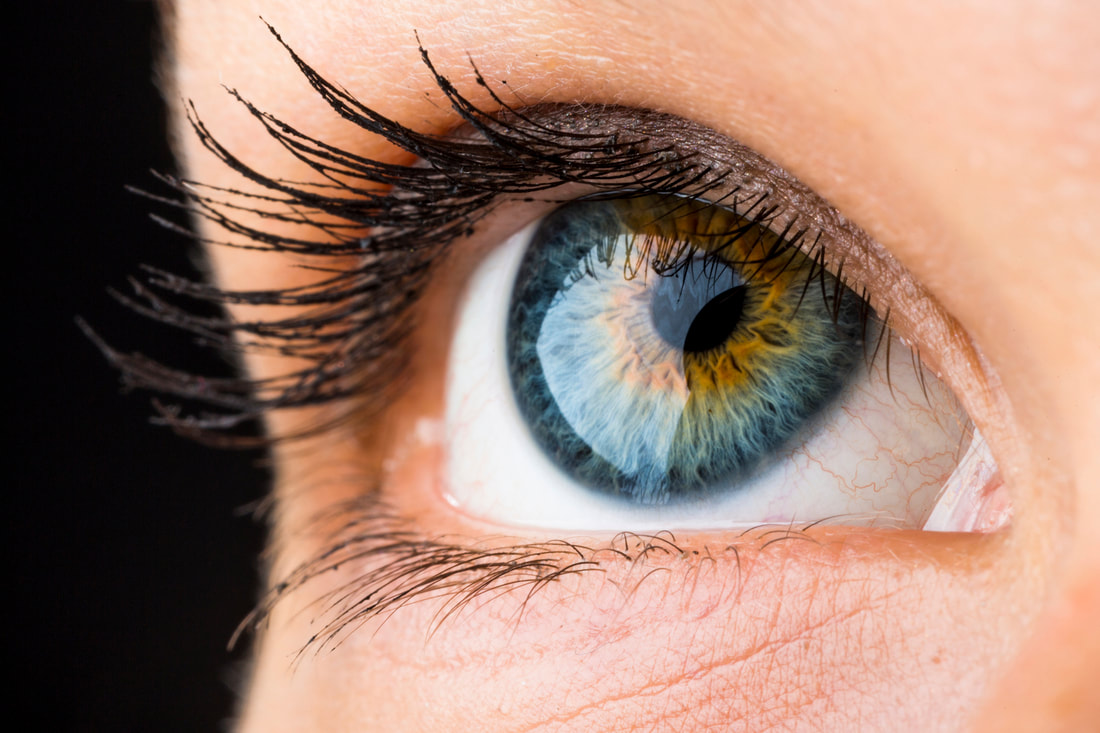
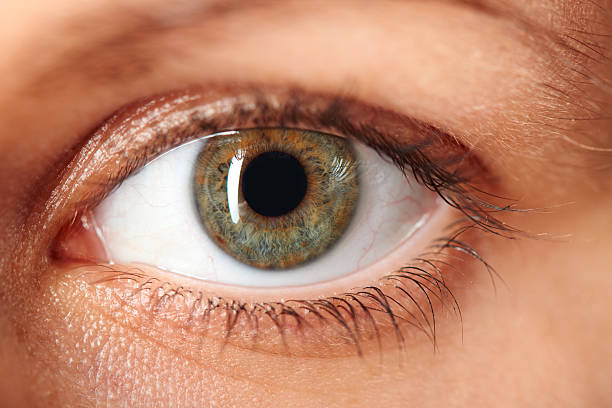
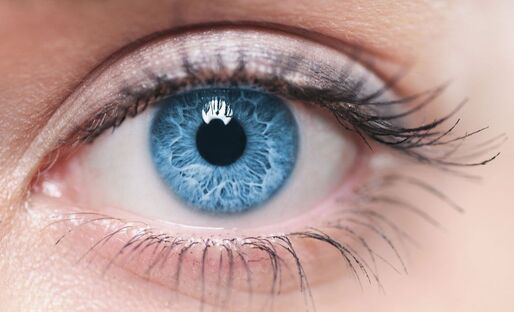
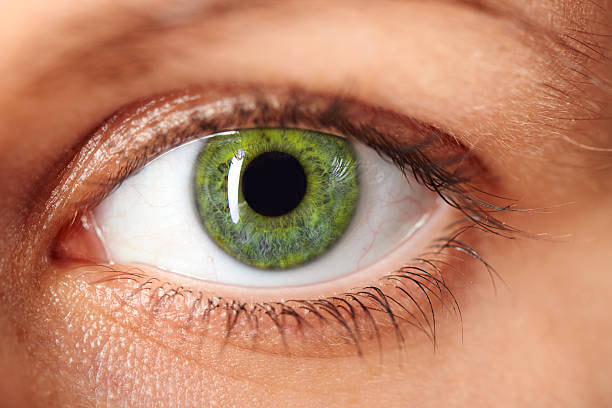
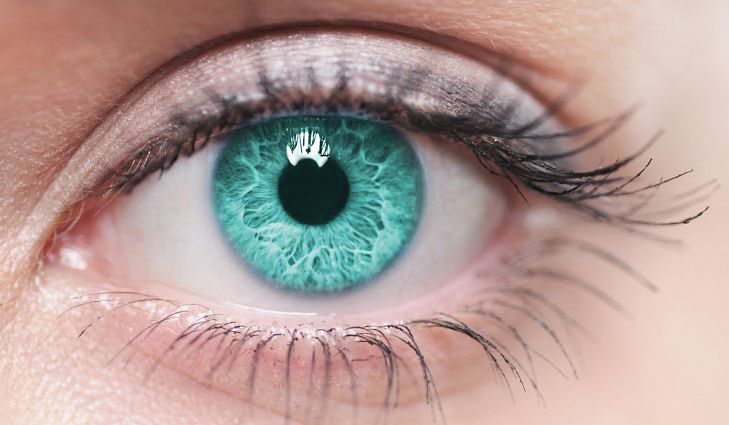
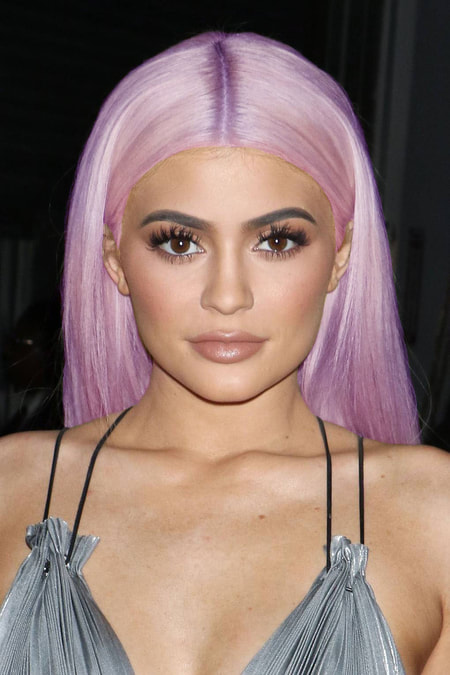
Changing Eye Color
To change the color of these eyes, I selected the colored part of the eye with the pen tool. Then, after I selected make selection and feather radius, I could change the hue of the eye.
|
Original Image
|
Photoshopped Image
|
|

|
I chose to change eye color in Photoshop because it is also a very simple and effective way of giving photos a new look. This was an easy and fun experience because it requires few steps and it is fun to change the look of people in pictures. I plan to use these skills in the future if I need to change the color of other things besides cars and eyes, or in future digital art projects.
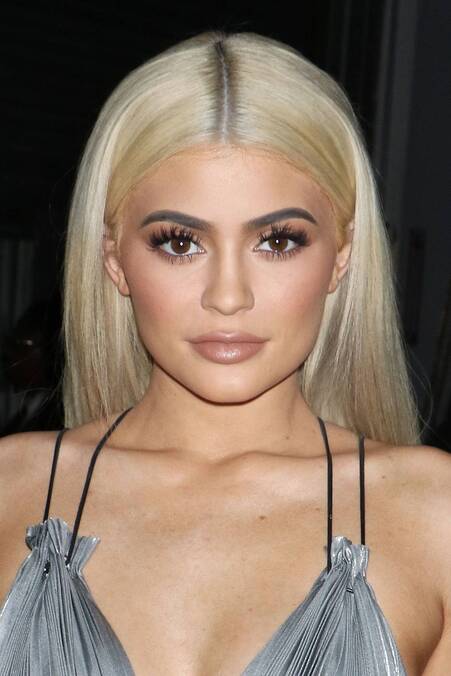
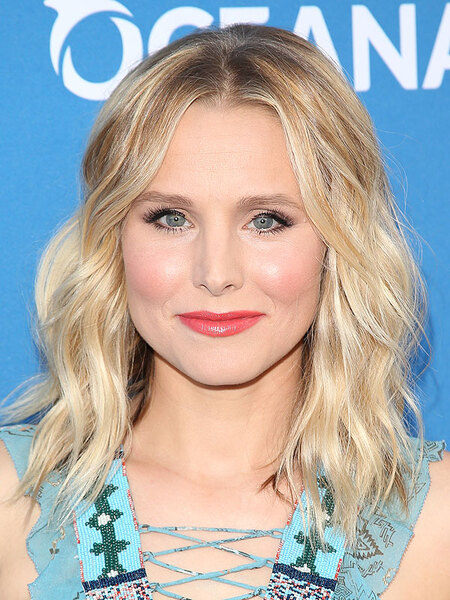
Changing Hair Color
To change the color of the blonde hair in these pictures, I selected the brush tool and the color I wanted to use. Then, I drew with the brush tool on the blonde hair with the new color, and then used the eraser tool around the hair to clean up the look of the new color so it looks real.
|
Original Image
|
Photoshopped Image

|
I chose to change the color of these celebritys' blonde hair because it gives them a new look and it is fun to play around with other peoples hair color. This was a fun and somewhat complicated experience because once I added the color, I had to retouch the color that was on the face and background, to make it look more realistic. I could use these skills in future digital art projects or if I ever wanted to change someone else or my own hair color in a picture.
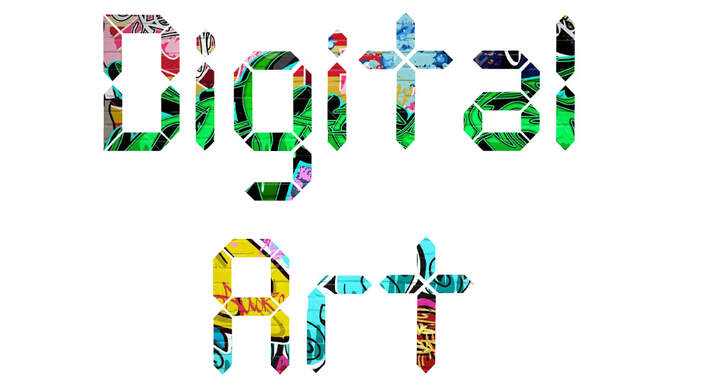
Placing an Image Inside Text
To place an image inside text, I placed the text onto the full image. Then, I could select create clipping mask, and move the image around inside the text.
Making Text Appear to be Transparent
To make text appear transparent, I placed text onto a new document, then selected blending options and bevel & emboss for the text. I set the fill opacity to 0, increased the depth of the text, added a glass contour, and added a shadow.
Using the Text Tool
To use the text tool, I placed text onto a document, then selected the text and selected the text tool. Then, I could change the shape, color, etc. of the text.

I chose to try different text styles because it is a simple and fun way of creating personalized text. This was a fun experience because thee are so many different options to play around with for text and font. I could use these skills in future digital art projects or whenever I want to create a personalized text for other projects in school or outside of school.
